USING MONSOON MAILER AS AN SMTP RELAY
Overview
This KB article tells you how to set up the SMTP Relay capabilities including with your plan at Monsoon Mailer. This is the LATEST and MOST CURRENT Information.
Step-by-Step
You can use Monsoon Mailer as an SMTP Relay Very easily by:
- log into your account at https://esp.monsoonmailer.com
- go to the INTEGRATE menu and click on it and select API AND SMTP
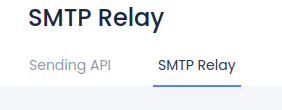
- then at the top-left, just under "Sending API" click on the grey "SMTP Relay" sub-menu
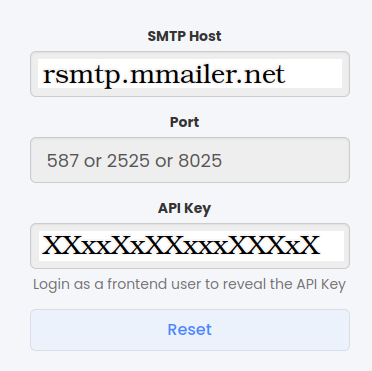
- Then you will see a dialog like the following:

- MAKE SURE YOU USE "rsmtp.mmailer.net" and NOT any other value for the SMTP Host.
- The second field is telling you we will accept your SMTP traffic on port 587, 2525 or 8025
- This is necessary because some ISPs block traffic on port 25 and port 2525, but in every case we have seen, at least one of these works and/or bypasses their outbound filtering systems
- .Use the value shown on YOUR screen as your SMTP LOGIN *AND* PASSWORD in your email sending program.
This interface can be used by your Customer Management Platform to send email or any number of other uses.
You must make sure that your SPF, DKIM, DMARC and other relevant records are defined.
Before trying the SMTP relay we strongly recommend you have already sent email through our platform through the GUI, to ensure all the DNS, etc., is set up.

